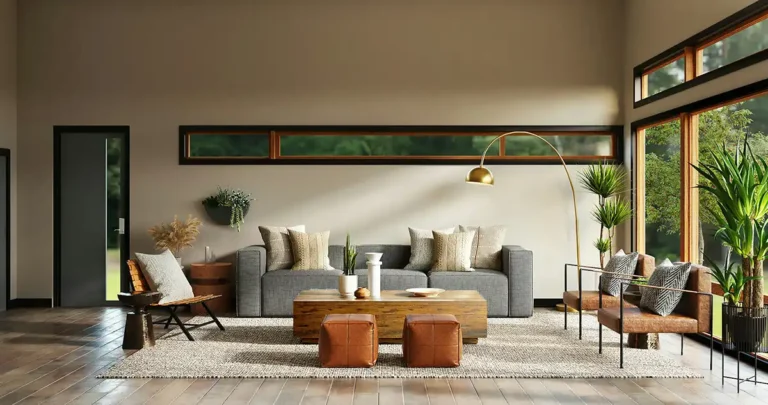
Many people return from trips with hundreds of photos and no clear plan for them. They stay on phones, cameras, or laptops and are rarely revisited. It’s a shame, because there’s a lot that you can do with good travel photos. Travel photos can help shape how a home feels when they are used thoughtfully. Here’s how to create a travel-inspired home using your own travel photos.
Choosing the right photo format
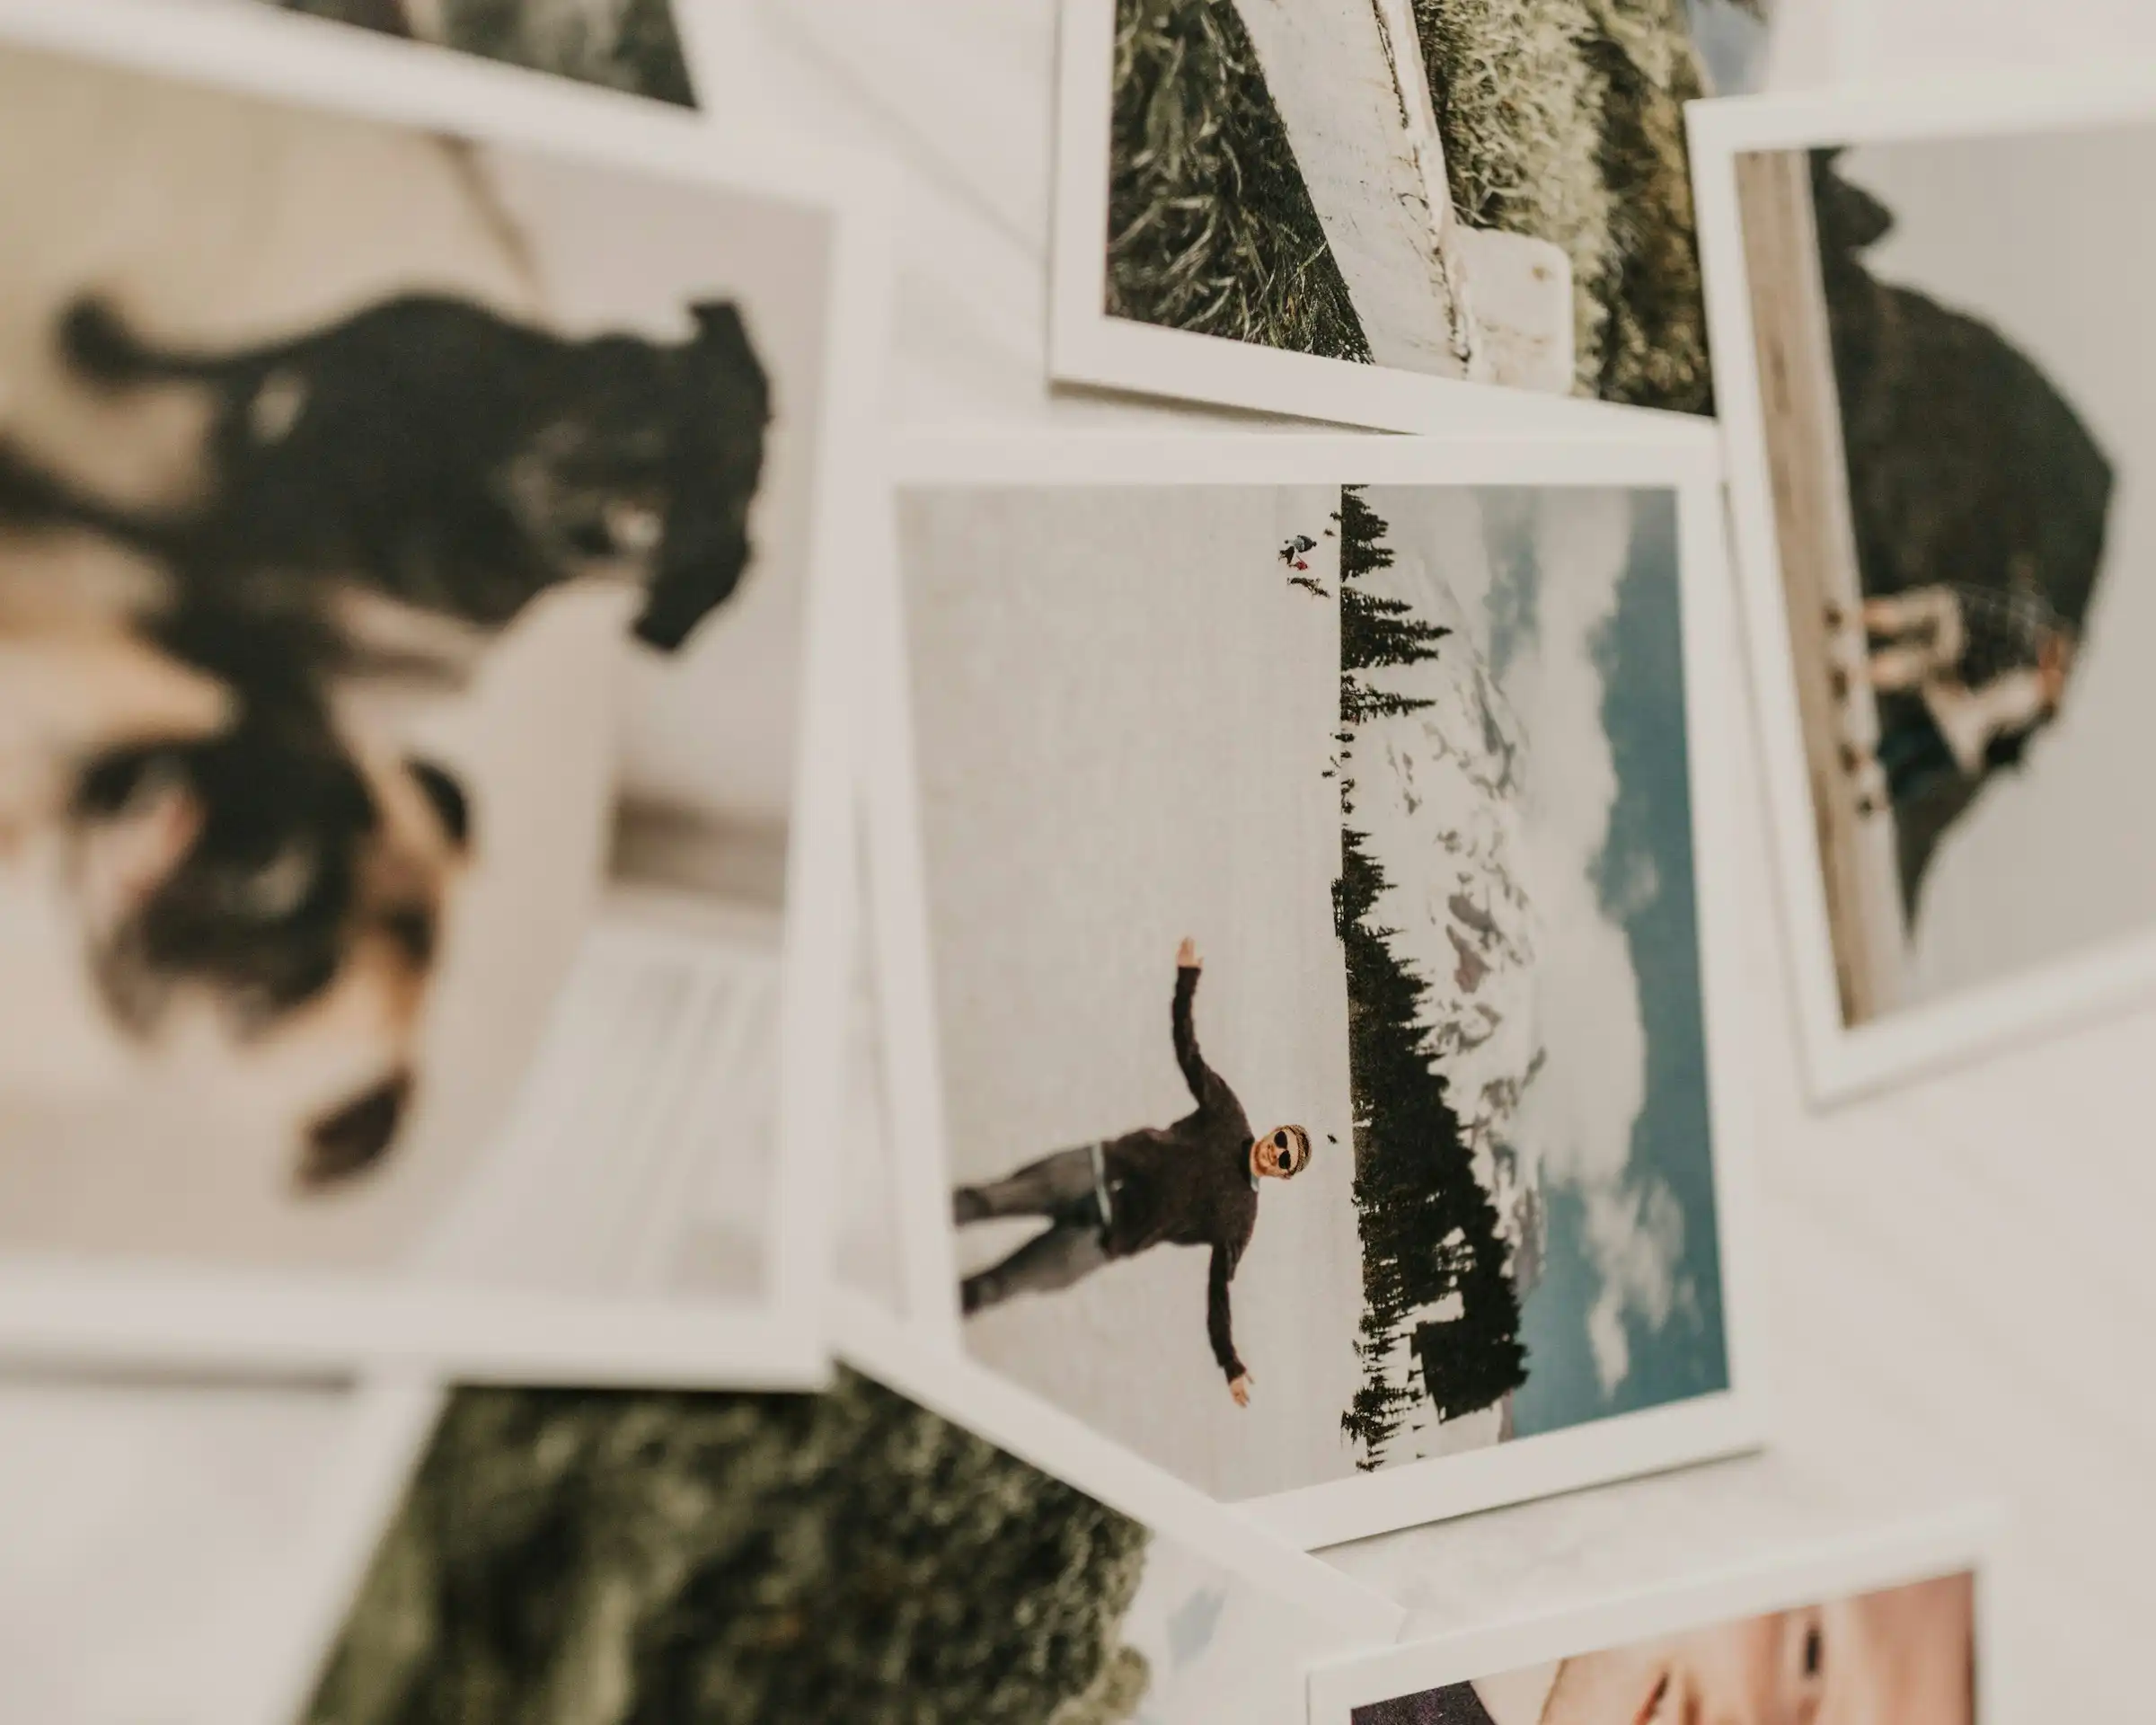
Printing your photos helps them feel settled in a room, but a room full of rigid rectangular prints could feel dull, or even off-kilter. Try experimenting with more creative and flexible photo formats, like hexagonal canvas prints that let you start small and add images over time. You can change the arrangement without replacing everything, which suits travel photography that grows as you visit new places.
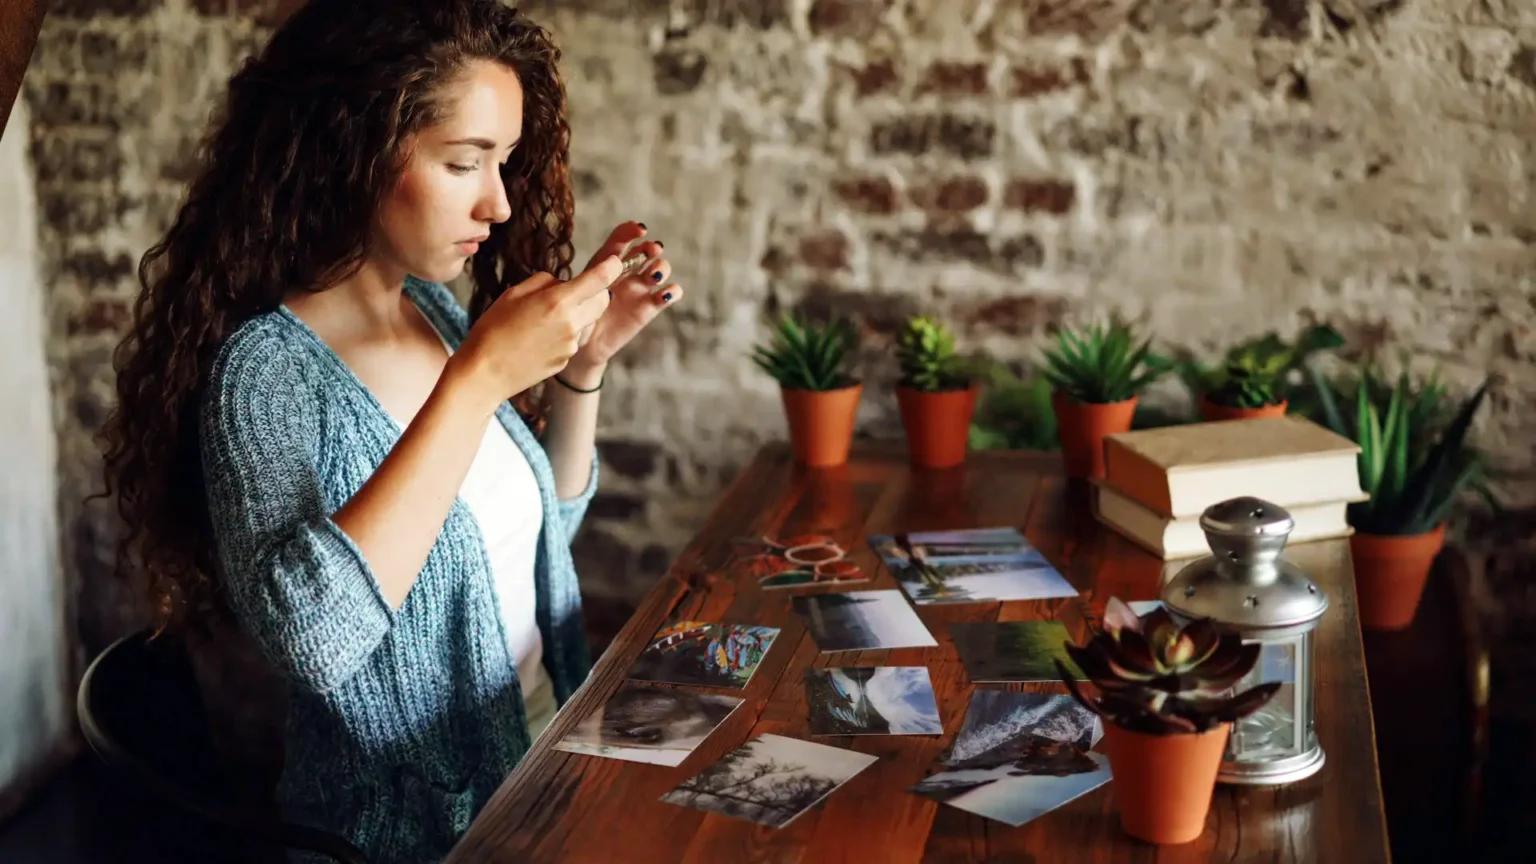
Pick the perfect pictures
Start by choosing images you would not mind seeing every day. Remember, not every travel photo works on a wall. Group selfies, novelty shots, and crowded scenes often lose appeal once the trip ends and don’t work well in large rooms if you need to get up close and personal to see everything that’s going on. Images with space tend to work better on walls. Quiet streets, natural light, solo portraits, buildings, or landscapes are good choices.
Decide on placement
Decide where photos will go before choosing sizes. Hallways, staircases, and landings work well because people move through them. Living rooms and bedrooms suit fewer images with more space around them. Kitchens often suit smaller prints, especially photos connected to food, markets, or everyday scenes rather than landmarks.
Avoid trying to document an entire trip on one wall. A home does not need a timeline. One photo from a place often feels stronger than several similar shots grouped together. Mixing photos from different trips can also help. A wall that includes different locations tends to feel more relaxed than one focused on a single destination.
Consider color
Pay attention to color, but keep it simple. Travel photos already contain real tones and light, which helps them sit naturally with furniture and paint. If a room uses softer colors, photos with calmer light usually fit better. In brighter rooms, higher contrast can work. Light editing before printing can help images to sit well together without forcing them to match.
Space is more important than you think
Leave enough space between prints. Tight clusters make travel photography feel busy. If you use hexagonal canvas prints, start with one or two and build out slowly. This avoids locking into a layout too early and keeps the wall flexible.
Frames are also an important consideration when it comes to space and focus. Frames and finishes for photos are often best if understated. The photo should stay central, and not lose focus within its frame. Canvas works well because it reduces glare and softens detail slightly. Heavy frames and decorative finishes often distract from the image itself.
Scatter photos throughout the home
Place photos throughout the home rather than in one area. A small print in a bedroom can matter just as much as a larger one in a shared space. Remember that not everything has to be on display at all times – some images feel better in private rooms. This keeps the home personal rather than curated for guests.
Avoid captions
Do not label or explain photos. Captions and plaques make a space feel staged. Recognition matters more than explanation. Conversations happen naturally when someone asks about an image.
Enjoy your travel-themed home!
A travel-inspired home does not rely on souvenirs or themed decor. It relies on photos you already have. Printing them thoughtfully keeps those memories part of daily life rather than leaving them unused on a screen.